Exodus Multi Asset Wallet
You
want
to
create
a
wallet
in
which
you
can
store
and
exchange
not
only
Bitcoins
but
also
several different currencies, but you don't know where and how?
Here
you
will
learn
step
by
step
how
to
create
an
Exodus
Wallet
and
how
you
can
receive
and
send cryptocurrencies quickly and easily.
With your personal wallet, it is important that only you have the private key to access your coins anytime, anywhere.
Before
you
go
ahead
and
buy
cryptocurrencies,
you
should
create
a
personal
wallet
where
you
can
safely
store
your
cryptocurrencies.
To create your Exodus Wallet ......


I hope I have been able to provide you with instructions that will make it easier for you to create and use the Exodus Wallet.
If you still have questions, please contact me.
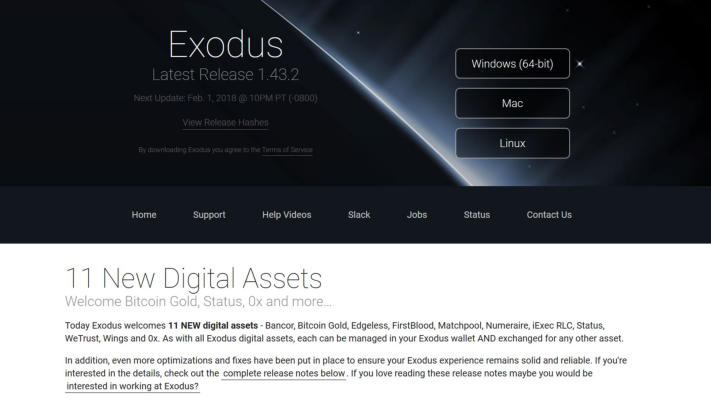
On the Exodus download page you will find various installation files for both smartphones and desktops and their respective
operating systems. If you are using a Windows operating system, you should download the appropriate installation file. The
same applies if you use MAC or Linux.
For the Windows Light-Wallet, click on the corresponding download button.
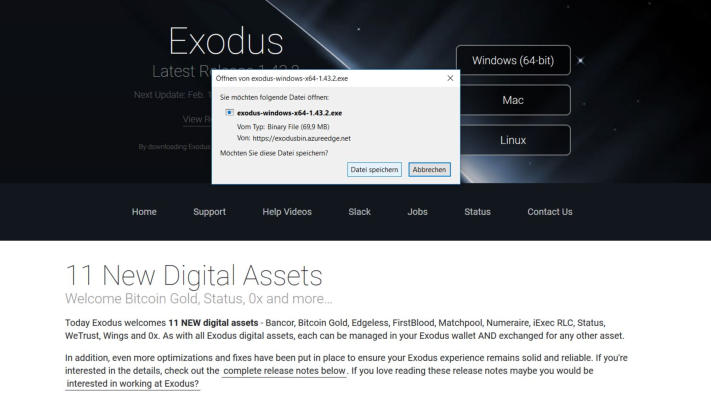
In the next step, click on "Save file" again and save the file in a folder of your choice.
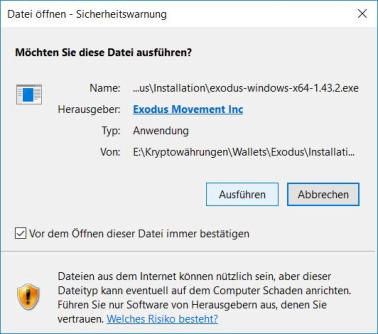
Then execute the .exe file and follow the installation instructions.
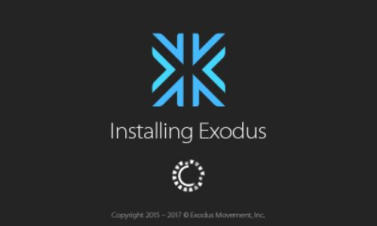
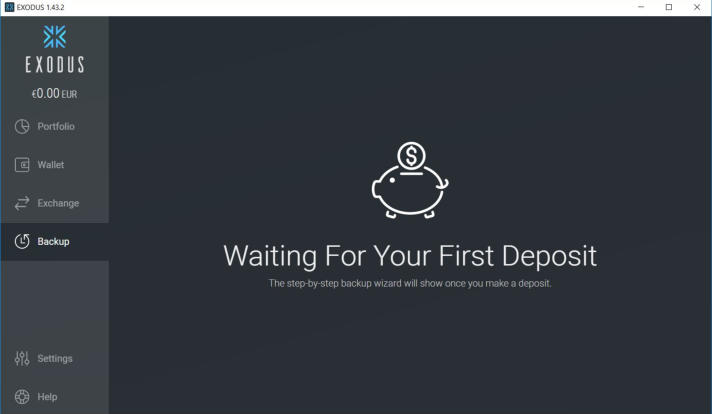
After the installation is complete, you need to open the Exodus Wallet.
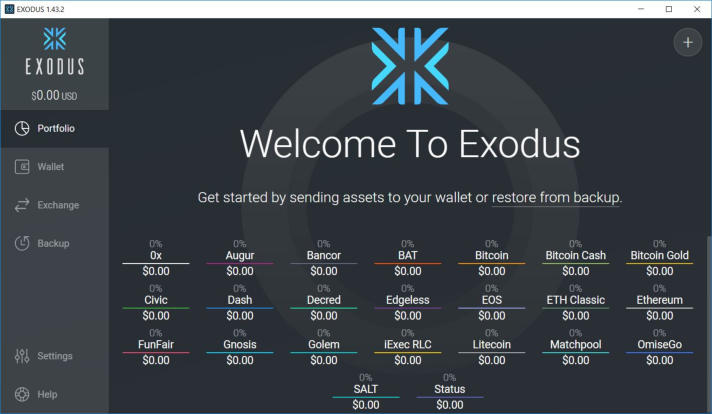
You will now be taken to the Wallet interface:
In the portfolio you now have an overview of all your cryptocurrencies.
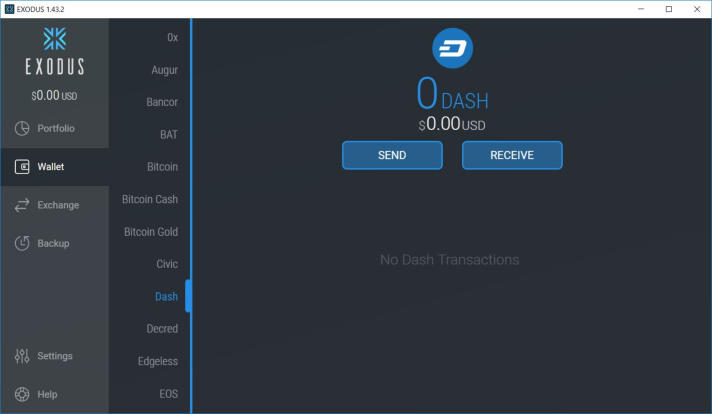
Under Wallet you have the option to access your various coins, send and receive coins.
Click on the Dash Wallet to send and receive Dash.
Click on the Bitcoin wallet to send and receive Bitcoin.
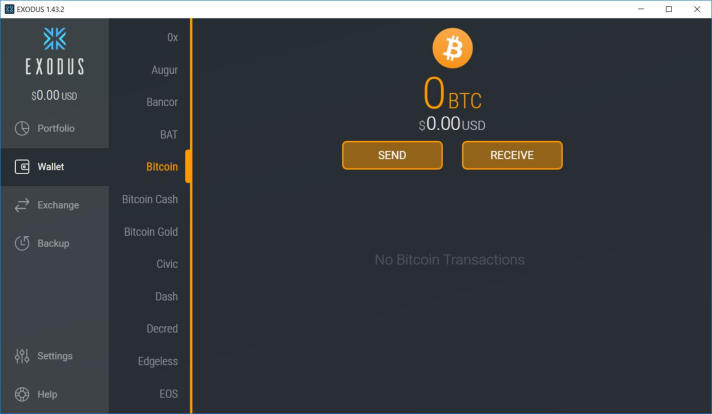
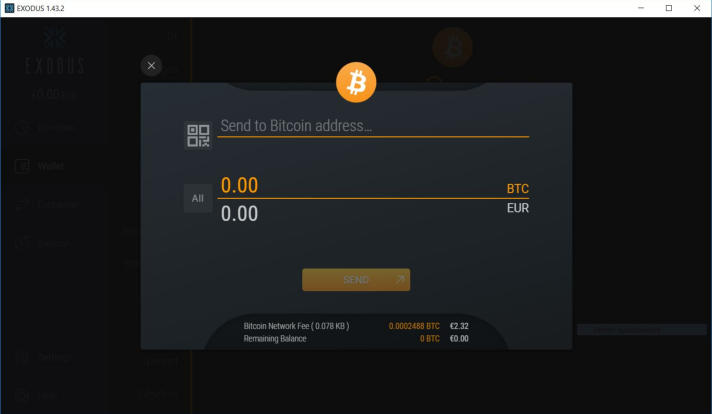
To send Bitcoin, click on "Send".
Enter the receiving address and the amount you want to send.
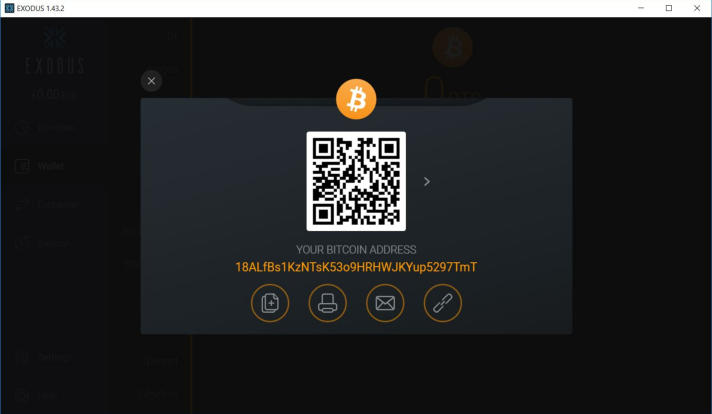
To receive Bitcoin, click on "Receive".
Here you will find the receiving address belonging to the respective wallet (in this case Bitcoin) and the corresponding
QR code.
If you want to exchange one currency for another, click on the "Exchange" button. This is your own little trading exchange, so to
speak.
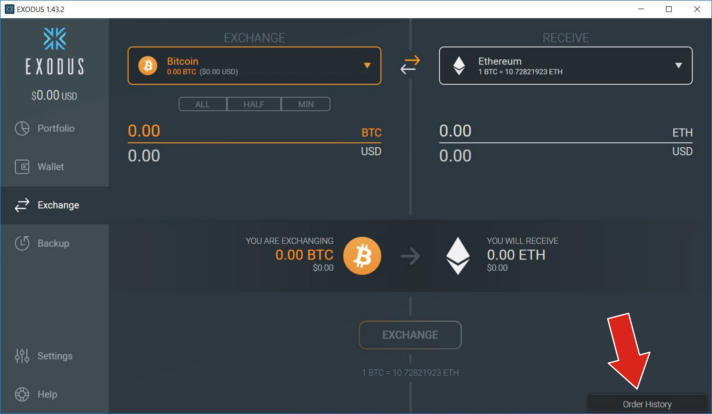
To find all transactions listed in your wallet, click on the button "Order History" in the bottom right corner.
"Order History" button.
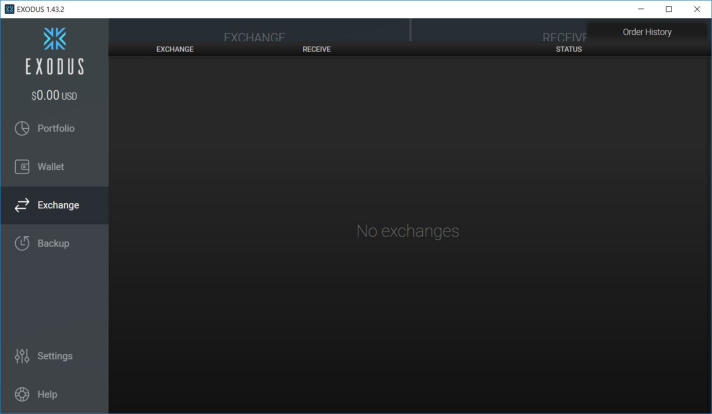
In the next window you can track all your transactions.
In order to make a backup and secure your private keys, you must first make a few coins on the respective wallet.
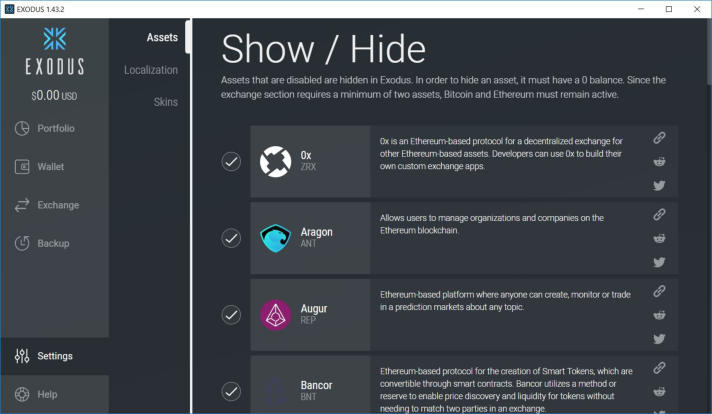
Under "Settings" you have several setting options:
On the one hand, you can select and deselect cryptocurrencies or wallets here,
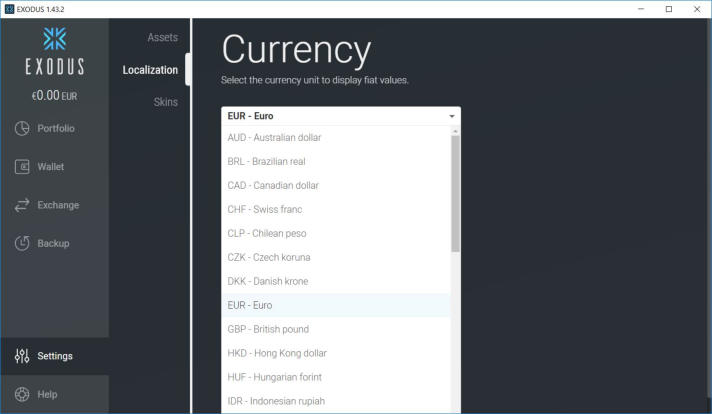
on the other hand, you can set the fiat currency of your country here to find out the exact conversion rate of your coins,
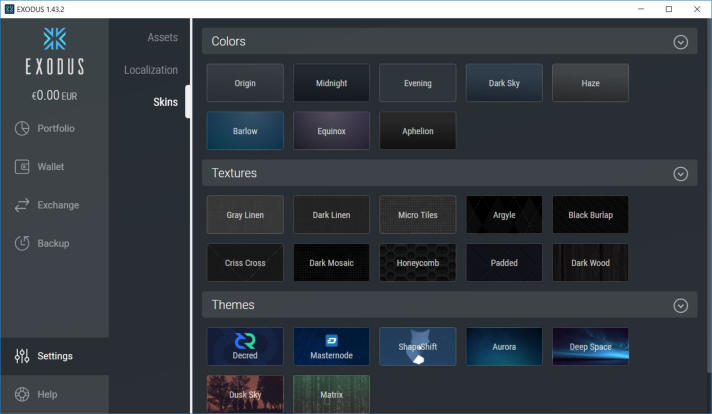
and thirdly, you have the opportunity to give your Exodus Wallet your personal touch by customising it in terms of colour and
design to your personal taste.
And please remember:
It is imperative that you keep the private keys of your respective wallets safe for all time, because these are your most
important data for accessing your funds at any time. Keep this data in a safe place to which only you have access.
Attention: The most secure solution to store cryptocurrencies is always a hardware wallet. These so-called electronic wallets
have a very big advantage over online or desktop wallets, because only you really know and possess the private key. You can
find more information on this topic and a comparison test of the different hardware wallets here:


Wallets


Please switch
to the desktop version,
for instructions on how
to set up a wallet.
Wallet